Create your own templates for Microsoft Planner

Use Excel and Power Automate to create your own custom templates for Microsoft Planner
I’ve talked before about using Microsoft Planner and how it is great for creating Kanban-style boards that are super easy to use and understand. It’s a great tool for planning both small and large projects.
Overview
When creating a new plan, you can select from a number of pre-made templates offered by Microsoft. Yet there doesn’t seem to be a way to create a template from an existing plan (I couldn’t even find a way to copy a plan). Having the ability to create custom plans is a must-have if you ask me. It’s essential for quickly creating plans for things like recurring projects. Luckily, Planner allows you to export a plan and, with some help from Power Automate, we can easily create a custom template for Planner.
Setup
The first thing we need to do is create a plan and add all the buckets and tasks to it.
Export the plan
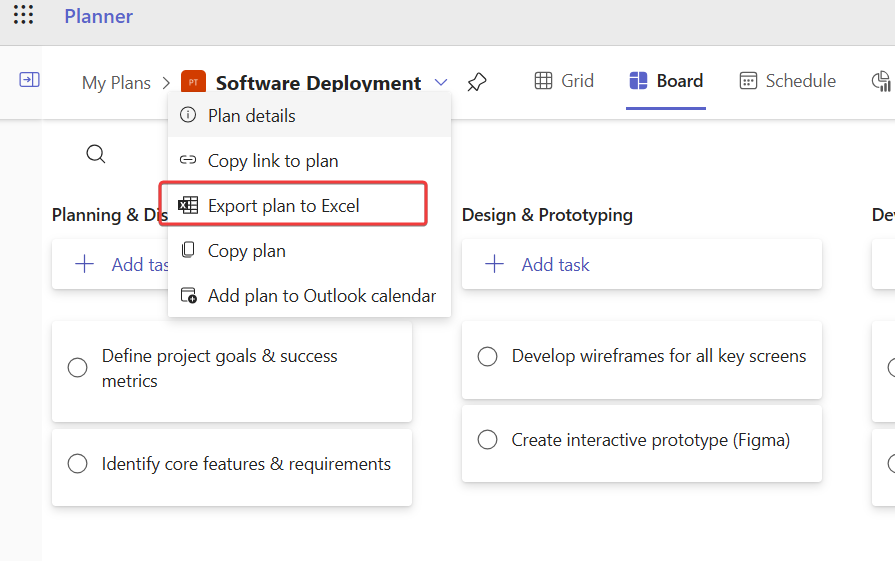
After you have created the plan and added all your buckets along with their respective tasks, you need to export the plan.
- Click on the drop-down next to your plan title
- Select “Export plan to Excel”
Once the file is downloaded to your computer, upload it to a SharePoint document library. I created a library on a SharePoint site called “Planner Templates”.
Edit the template
Open the Excel file in SharePoint. You will see a spreadsheet like the one below:
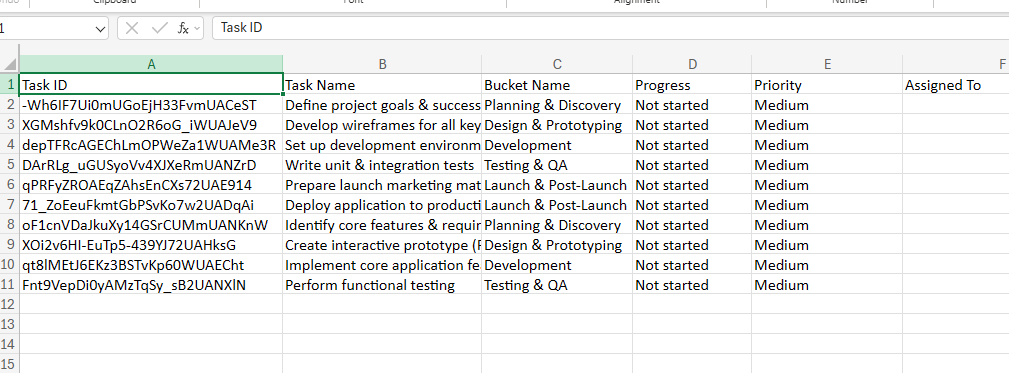
Now, the only columns we are going to be using for this tutorial are Task Name and Bucket Name. You can delete the other columns but keep the first column (Task ID) as we are going to use it for something else.
Pro Tip
We only use Task Name and Bucket Name but every column can be used. One example would be to keep the Description column if your tasks will always have the same description and you want new plans that use this template to have tasks with descriptions. Just make sure that any column you want to use has a value in it for each row. So if you are going to use descriptions, make sure each task has a description filled out.
Task order
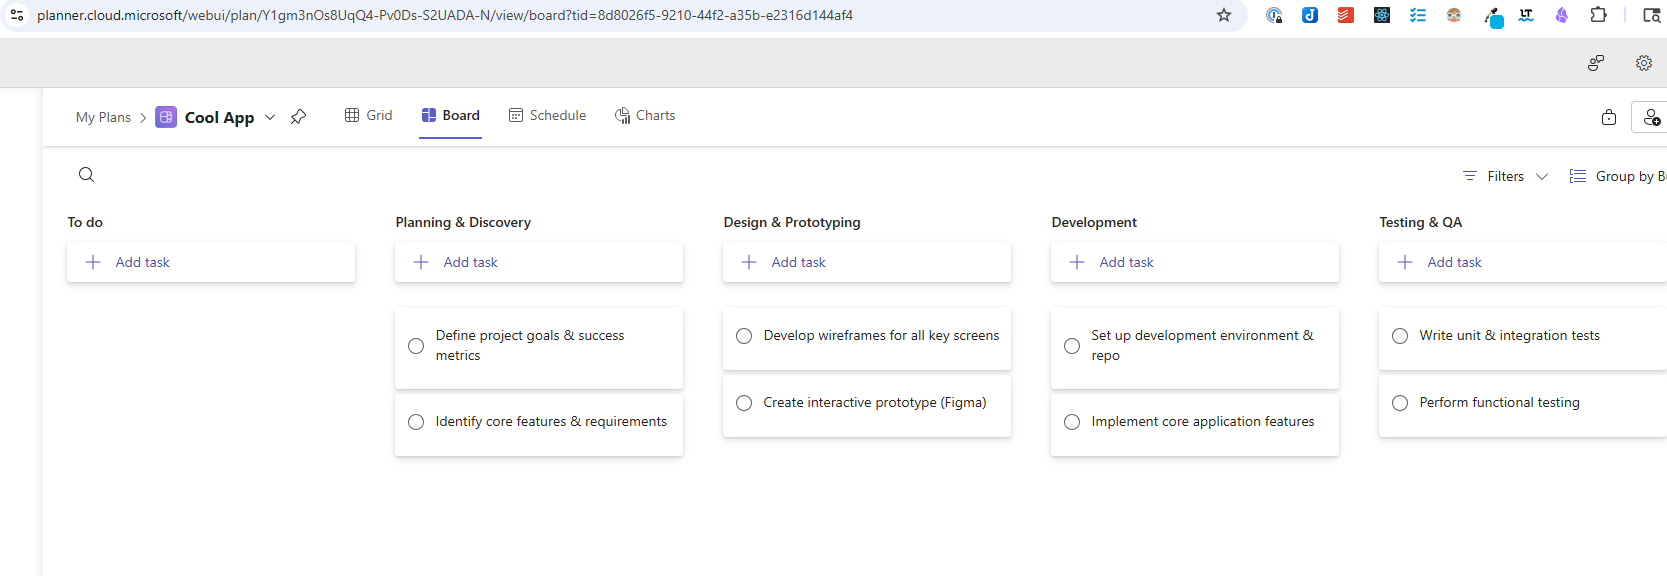
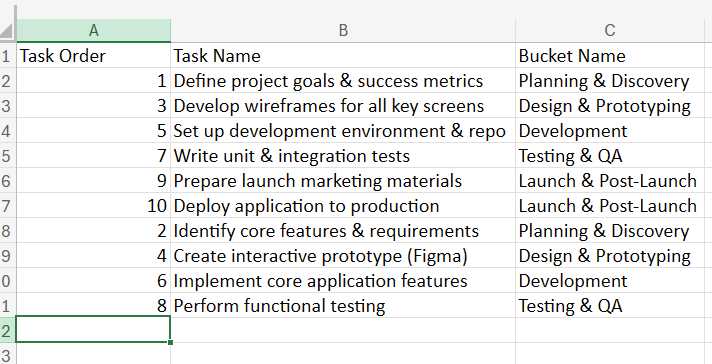
Next, rename the “Task ID” column to “Task Order” and erase all the values in it. Notice how each task is out of order. For example, if we look at our plan in Planner, we see that under our first bucket, “Planning & Discovery,” the first task is “Define project goals & success metrics” followed by “Identify core features & requirements.”
Because of how the Planner API works, tasks are added above any tasks that are already in the bucket. So it would add “Define project goals & success metrics” and then above that task would add “Identify core features & requirements.” The issue is that our plan shows the first task in “Planning & Discovery” should be “Define project goals & success metrics.” We need to ensure that “Identify core features & requirements” is added first to the “Planning & Discovery” bucket and then add “Define project goals & success metrics” (so it shows as the first/top task in that bucket).

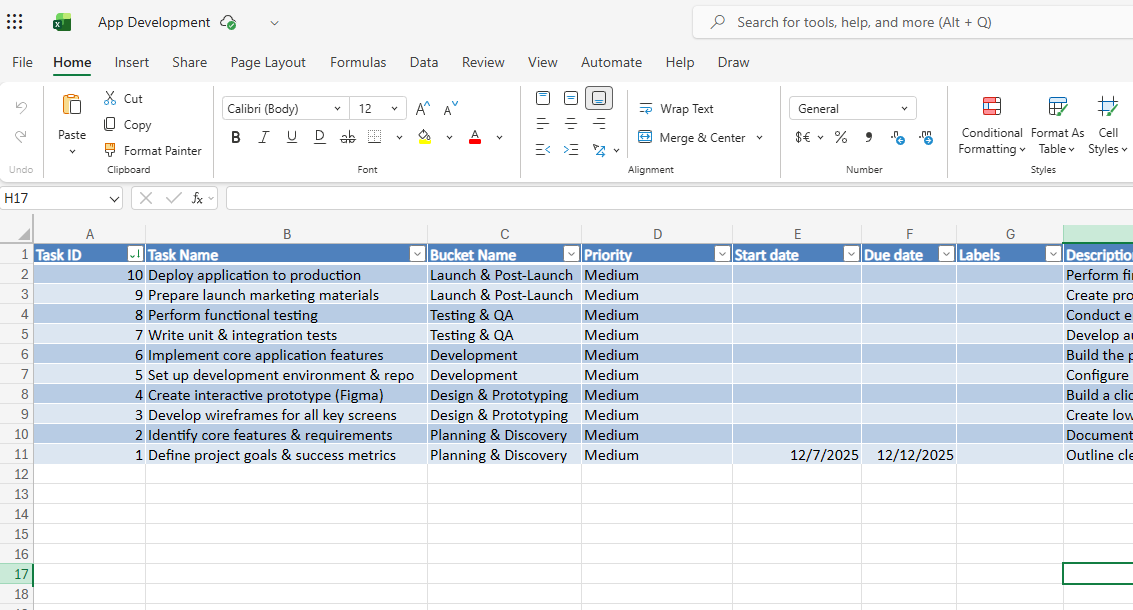
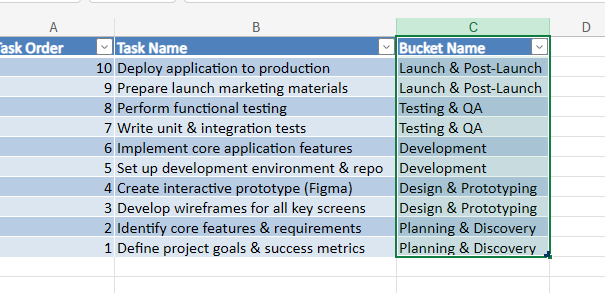
This is where the “Task Order” column comes into play. Since “Planning & Discovery” is the first bucket and in that bucket the first task should be “Define project goals and success metrics,” we assign that task a “Task Order” of 1. We assign the next task, “Identify core features & requirements,” a “Task Order” of 2. Our next bucket is “Design & Prototyping,” and the first task in that bucket is “Develop wireframes for all key screens,” so it gets a “Task Order” of 3. Continue this numbering scheme for all your tasks. Here is how mine looks:
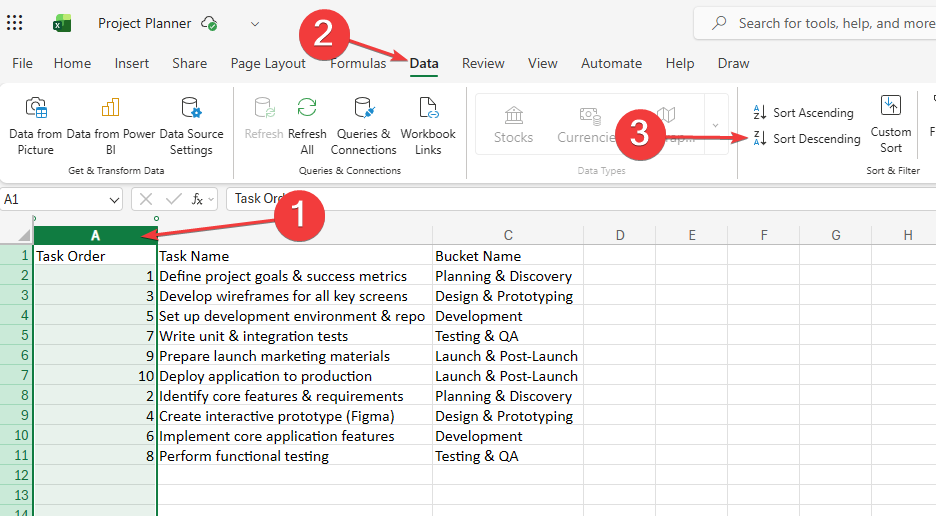
Now just highlight the “Task Order” column, select “Data,” click on “Sort Descending,” and select “Expand and sort” in the pop-up.
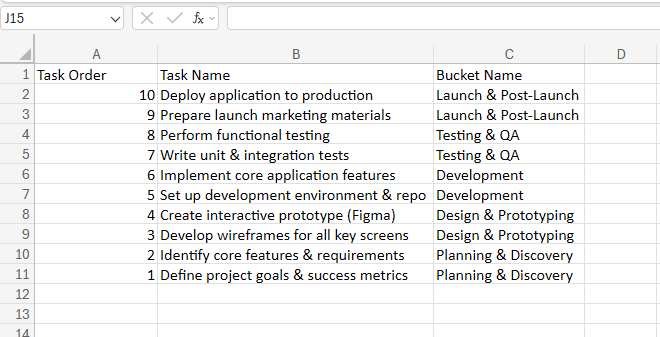
This is what you should end up with:
Define the tasks table
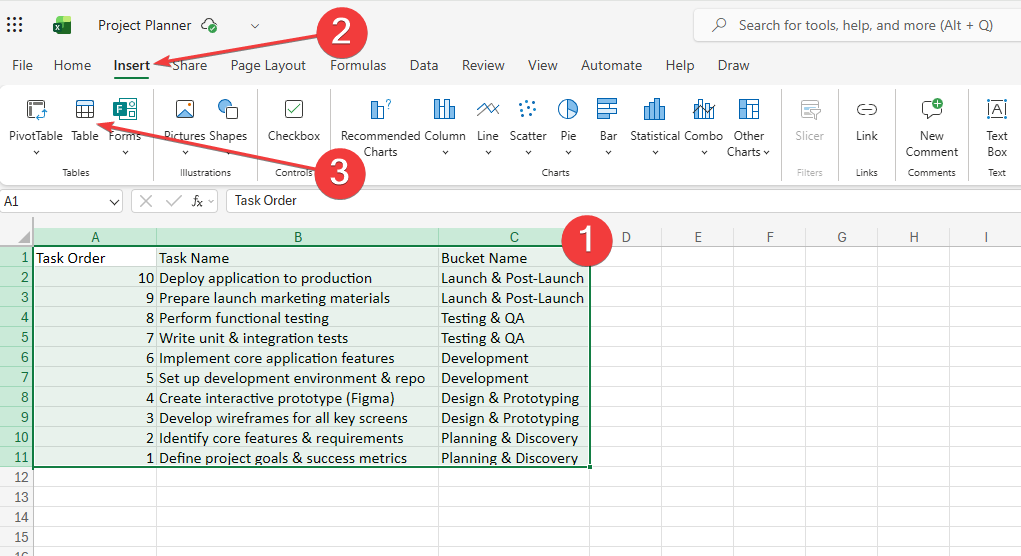
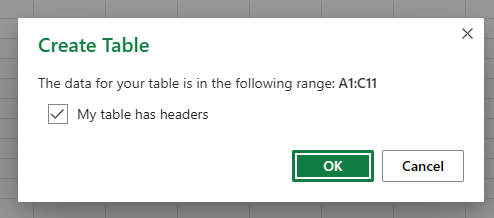
We need to create some tables to hold our tasks and buckets. Highlight every cell that you are going to use, click on Insert, and then Table.
Make sure you check the box saying that your table has headers.
Now you have your table for tasks.

Define the buckets table
We need one more table that will be for our buckets. Start by selecting all the rows in the bucket column.
Copy and paste them to a new sheet.
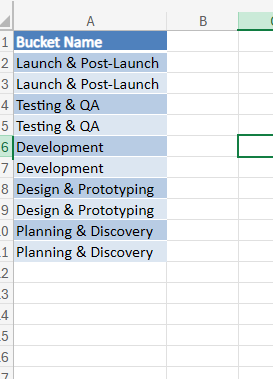
Select the entire column, then click on Data, and Remove Duplicates.

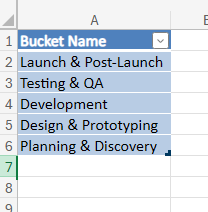
Click OK to the pop-up accepting all defaults.
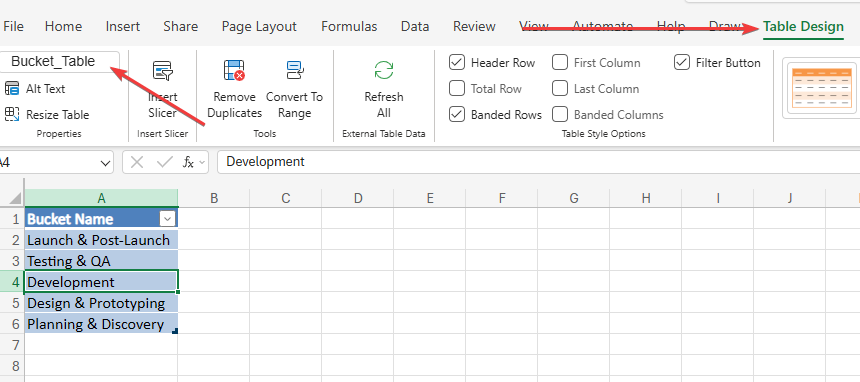
Your bucket list should now contain only one entry for each bucket. Highlight all the entries (including the header) and make it a table just like you did with the tasks.
Tip
Rename your bucket and task tables to make them easier to find when using them in your flow. Select any cell in a table. Then click on Table Design in the ribbon. At the left, you should see your table name. By default, it is something like “Table1.” Click in the box and rename it. I renamed my task table to “Task_Table” and my bucket table to “Bucket_Table”
The Flow
The objective of this flow is to automatically create buckets and tasks in a plan from an Excel file stored in a SharePoint document library.
- Create a plan with all your buckets and tasks
- Export the plan
- Save the Excel file in SharePoint
- Use Power Automate to get each bucket and task and add them to a plan
Trigger
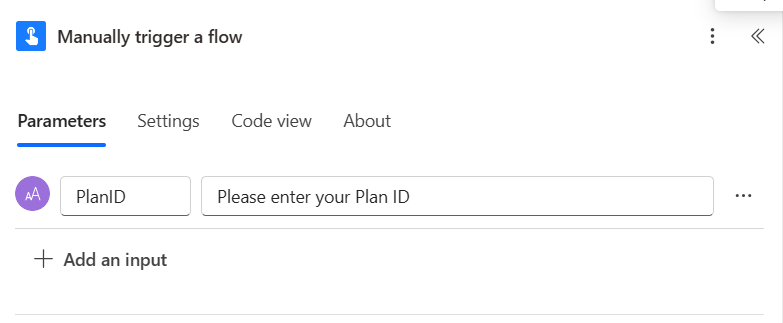
The trigger will be a manual trigger so that you can run this flow whenever you want. It takes one text parameter that will be the value of the Plan ID.
Actions
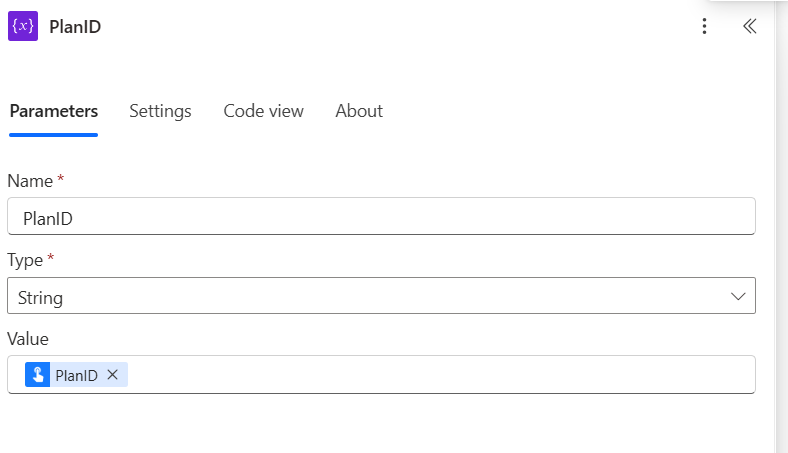
The first step we perform is to create a variable that will hold the value of the trigger parameter, in this case the PlanID. This is optional but I find it helps to have steps refer to a variable rather than the trigger parameter. That way, if I change the name of the trigger parameter, I only need to update the variable instead of having to update each action that uses that trigger parameter value.
The next action is using the Excel Online (Business) Connector to grab rows from an Excel table. The Excel file we are using is the Microsoft Planner plan that we exported to Excel. The action has a few properties that we need to set.
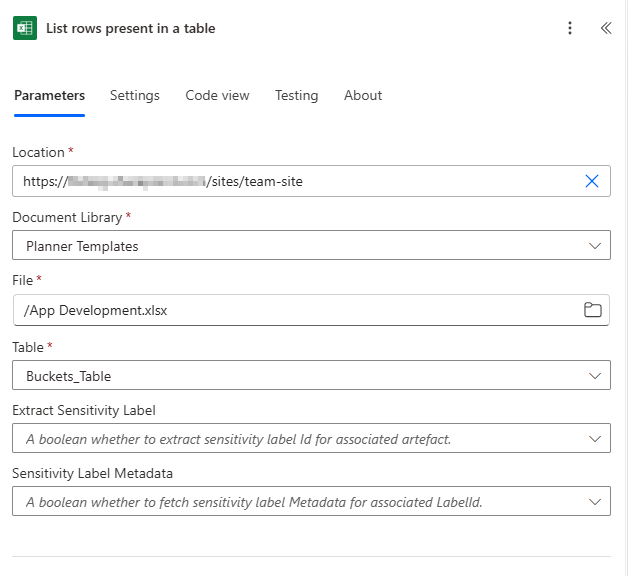
- The Location is the SharePoint site where your Excel file is located.
- The Document Library is the library that holds the Excel file.
- The File is the relative path to the Excel file.
- The Table is the name of the table in the Excel file that you want to get rows from.
This action is going to return an array of rows, so you will need to loop through each one of them.
Creating the buckets
To create the buckets, first add an Apply to each action. Add dynamic content and choose the body/value.
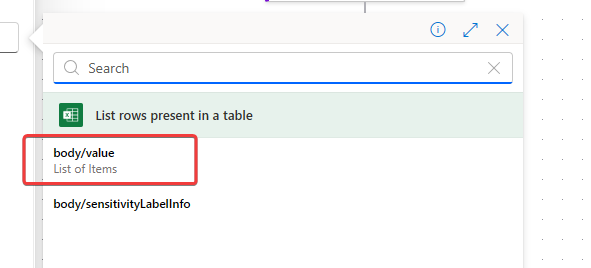
Add the action Create a bucket from the Microsoft Planner connector. Set up the action parameters like so:
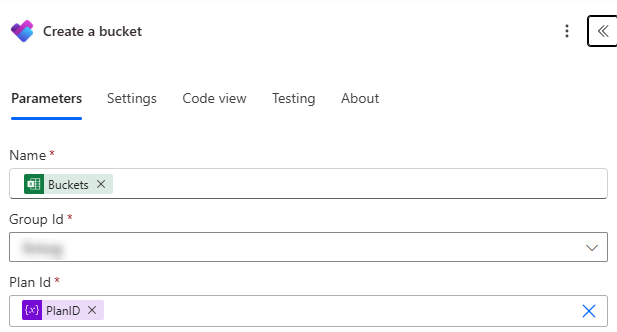 Parameters for the “Create a bucket” action
The Apply to each action is looping over each item returned by the previous action, get rows in a table. For each item, it creates a bucket in your plan.
For the Name field, you want to select a value from the current item (in this case the Excel row) you are iterating over.
For the Group Id you can select any group you want. This field is only for assistance in populating the Plan Id drop-down.
For the Plan Id, this is the Id that we ask the user for when the flow is triggered. If you set up the variable in step one to capture this information, you can reference that variable here.
Per Microsoft, the Group ID is not actually used in most of the actions in the Microsoft Planner connector.
“Please note, certain actions and triggers require you to provide a Group Id, but this is only for the purposes of populating other dependent dropdowns (e.g. Create a task action populates the Plan Id dropdown based on the provided Group Id). Once the dependent dropdown is populated, any value can be inserted into the Group Id field and the action would still work as expected despite any warnings the connector might give you regarding the Group Id field.”
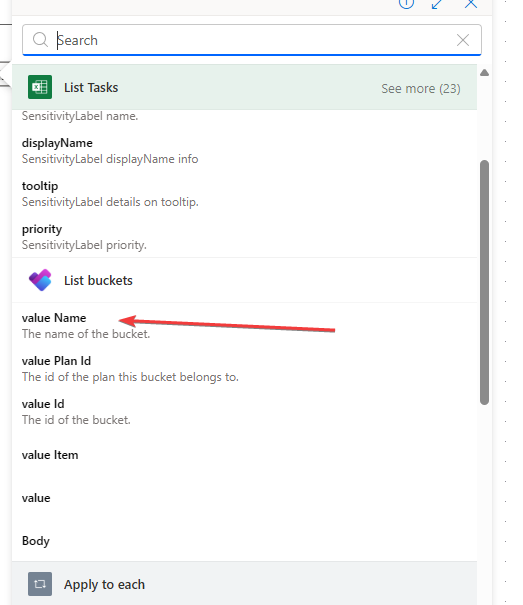
Listing the buckets
Add the “List buckets” action to retrieve all the buckets in your plan. The output of this action will be used later in the flow. Make sure to update the action parameters.
Get the tasks from Excel
Now that you have created the buckets and have a list of all of them, the next step is to begin creating the tasks. First, we need to grab all the tasks from the Excel export of our template plan.
Just like earlier in the flow, add the List rows present in a table with the same parameters as before. The only difference is you will be grabbing rows from the table that holds your tasks.
Adding tasks to Planner
At this point, we have all our tasks ready to be added to our plan.
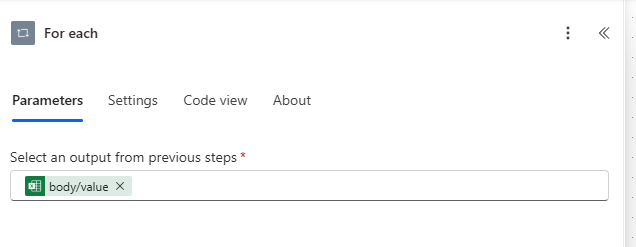
Start by adding a For each action with the ‘body/value’ being the input.
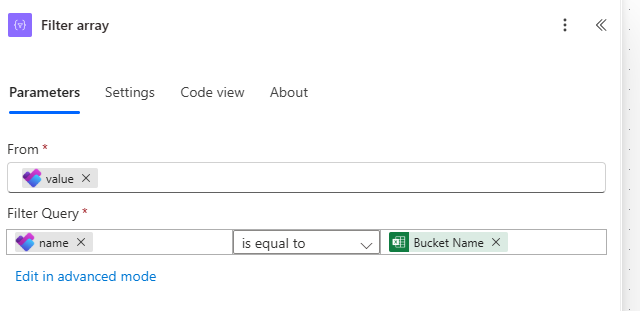
Next, add a Filter array action. We are going to use this to grab the bucket_id for the task we are looking at in the loop. Filter the array returned by the List buckets action you ran earlier.
For the left side of the query, use the bucket name
and for the right side use the bucket name from the current task and it should be “is equal to”
Here is the action with all the parameters:
The filter array returns a list with only one item in that list, the bucket your task belongs in.
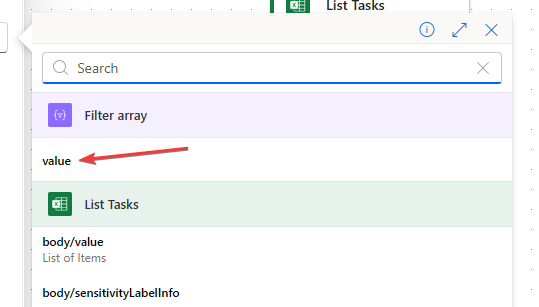
Add a For each action set its input to the output body of the Filter array.
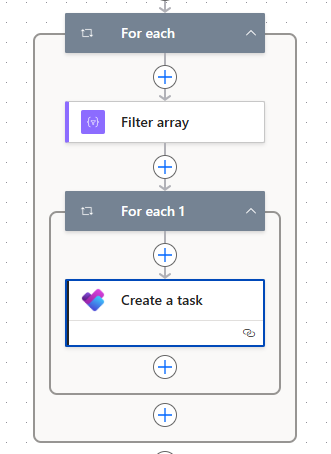
Now it is finally time to create the task. Add the Create a task action inside the For each action. Here is what the entire block should look like:
For the Create a task parameters:
- Group Id: Pick any group you want as it’s not really used
- Plan Id: This should be the PlanID variable you set at the beginning. Recall that the flow asks you for this when you run it and stores it as a trigger input.
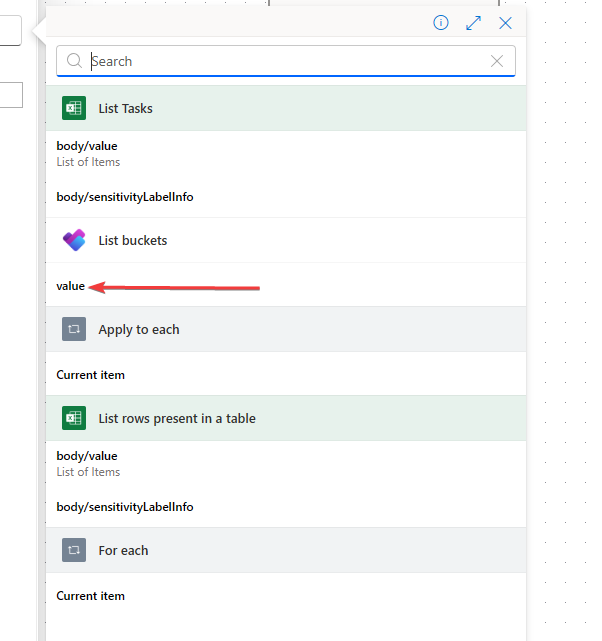
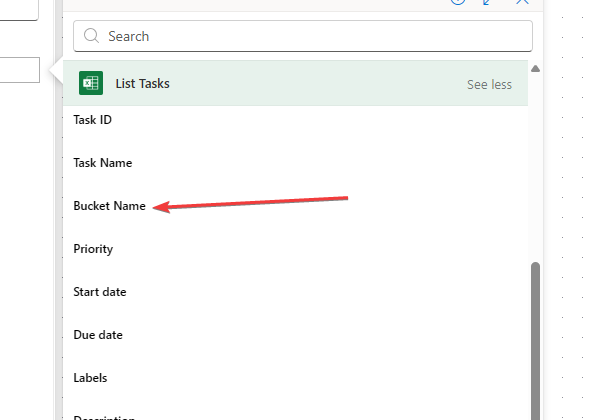
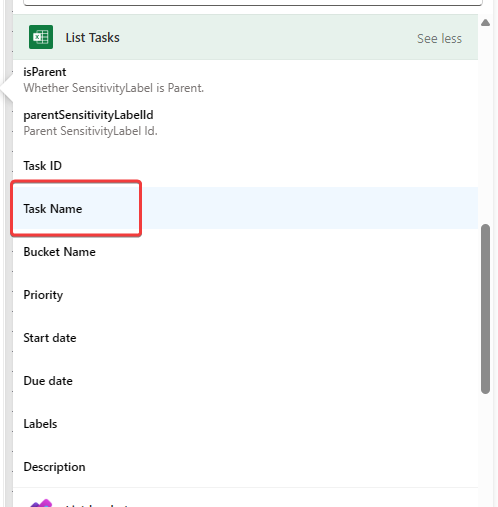
- Title: You need to get the task name from the current item you are looking at. To do this, click on “Dynamic content” and select ‘Task Name’ under List Tasks (you may need to click the See more next to the header name).
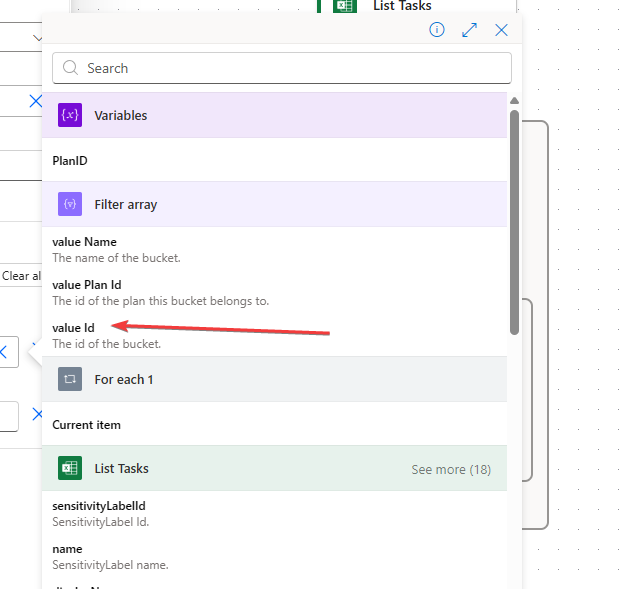
- Under the Advanced parameters dropdown, select “Bucket Id” and set its value to “Id” under the Filter array header.
Testing
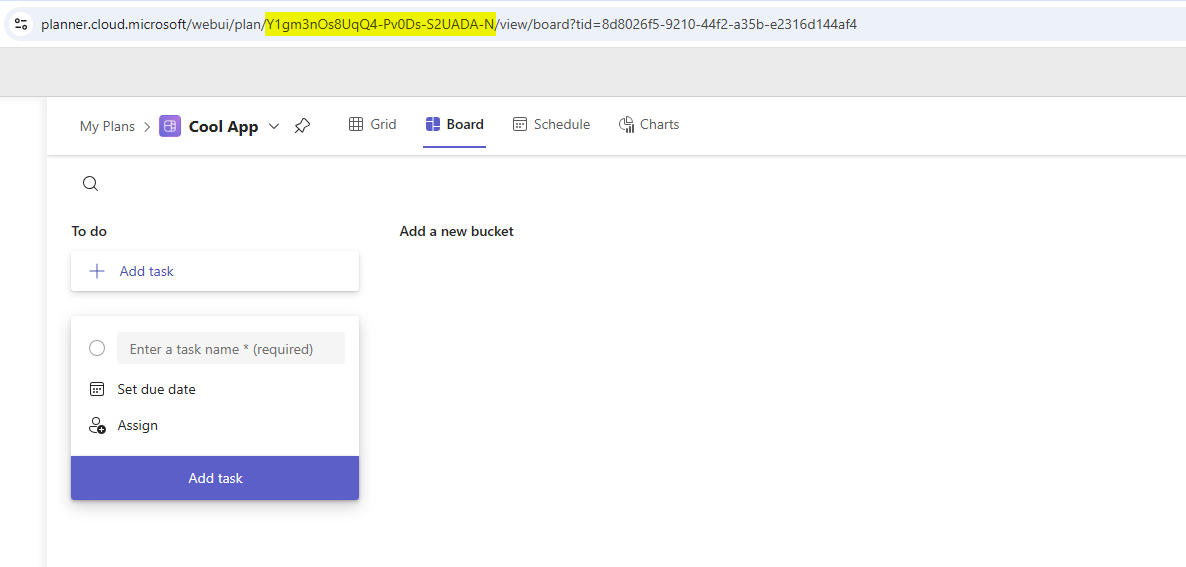
Save your flow and get ready to test it. Before we test it though you will need to create a new plan in Planner and get the plan id. Below is where you will find that id in the URL. Copy it.
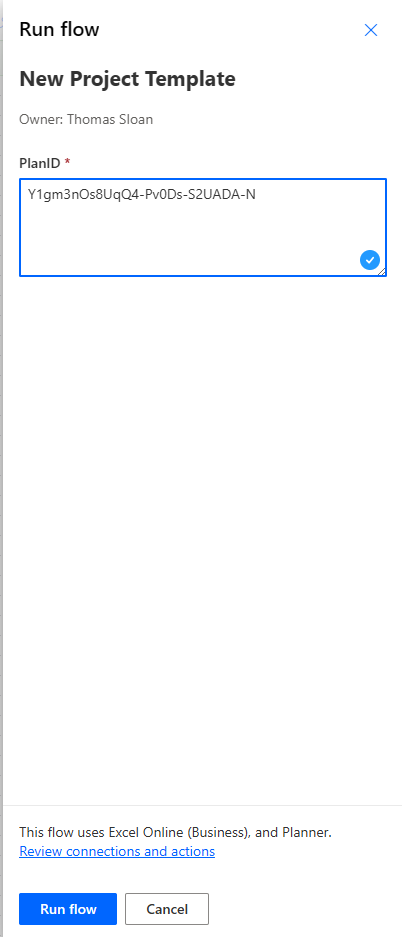
Now go back to your flow and click on Test and then Manually. It may prompt you to connect, but after, you should see a textbox asking you to enter the PlanID. Paste your plan id you just copied into that box and click on Run flow.
If your flow runs successfully, then flip back over to your plan and hit refresh. You should now see buckets with tasks in them.